 |
 |
E-450 Dash Panel
| I have modified anything I've ever owned since I
was young. I eventually made a career of it. I'm now
retired, and the fun continues. We have a 2023 KW29 Class C
motorhome. It's on the E-450 chassis, the most widely used
platform. If you have the same one, you'll appreciate how little
dash is available for all the accessories you'd like to mount and/or
power. RAM ball mounts are awesome. I use the 1" size, and
there's a huge amount of accessories that work with this system.
I'm currently using my iPhone for navigation through the dash stereo
system via Apple CarPlay. But I also have a Garmin RV GPS.
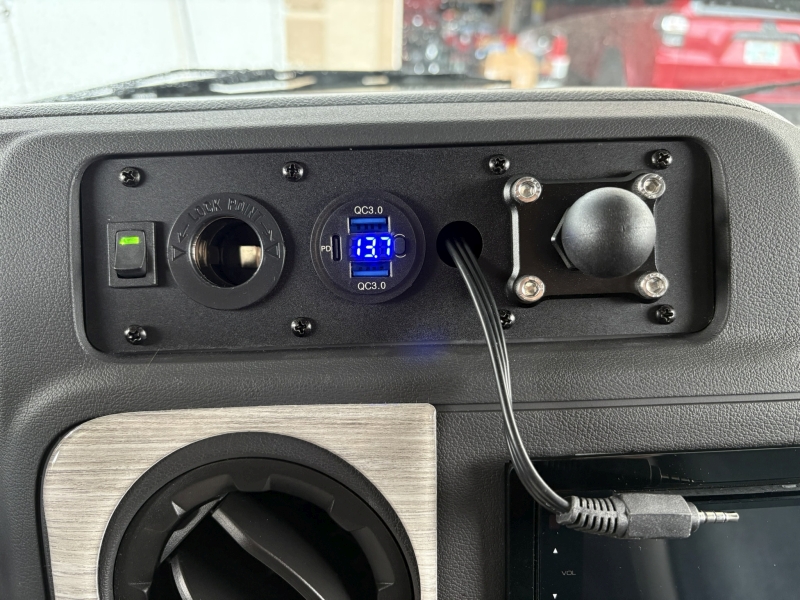
The GPS can use this same RAM mount system. What I didn't like about the dash stereo system is the viewing angle. This RV has a backup camera, and turn signal cameras. All will display on the stereo system. But this is a bit difficult to see, and if I'm using Apple CarPlay for navigation, I have to manually scroll through menus to switch to the camera view. I bought a very inexpensive 7" monitor to see the cameras all the time. The views automatically change when a turn signal is used. This way I can leave the dash stereo in Apple CarPlay mode. This is an inexpensive upgrade, and it doesn't require fancy tools to make. You can also swap it back later if you'd like. There are lots of 12V outlets and accessories available. Many use the same size holes, making them easy to swap out later if you'd like to change your setup. The acrylic cuts easy with a jigsaw, and drill bits can be used to make the holes. I have a laser cutter, making the cuts quickly. If you'd like a similar panel cut for you, contact at my e-mail address below. I'm not a business, just a hobbyist, that enjoys sharing ideas and projects. |
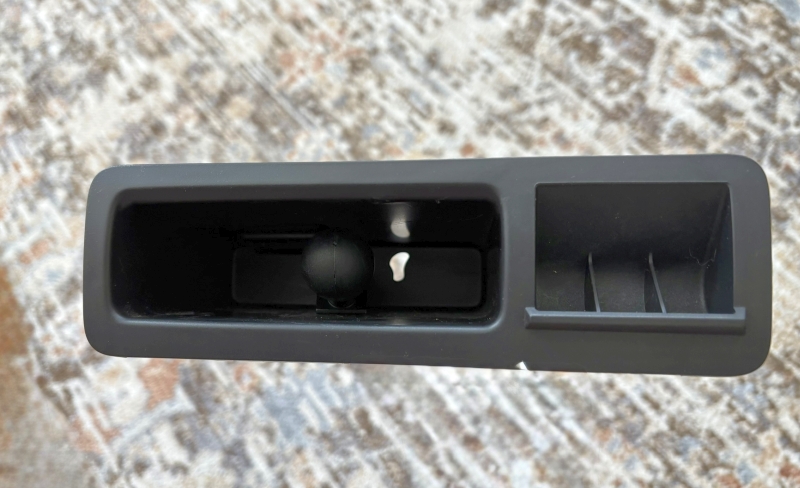 The factory dash insert. Very antiquated. Even toll booths in Florida have done away with using coins. This has a few clips holding it in place. A panel removal tool can safely slide into the gap, and press the clip releases, without scratching the dash. |
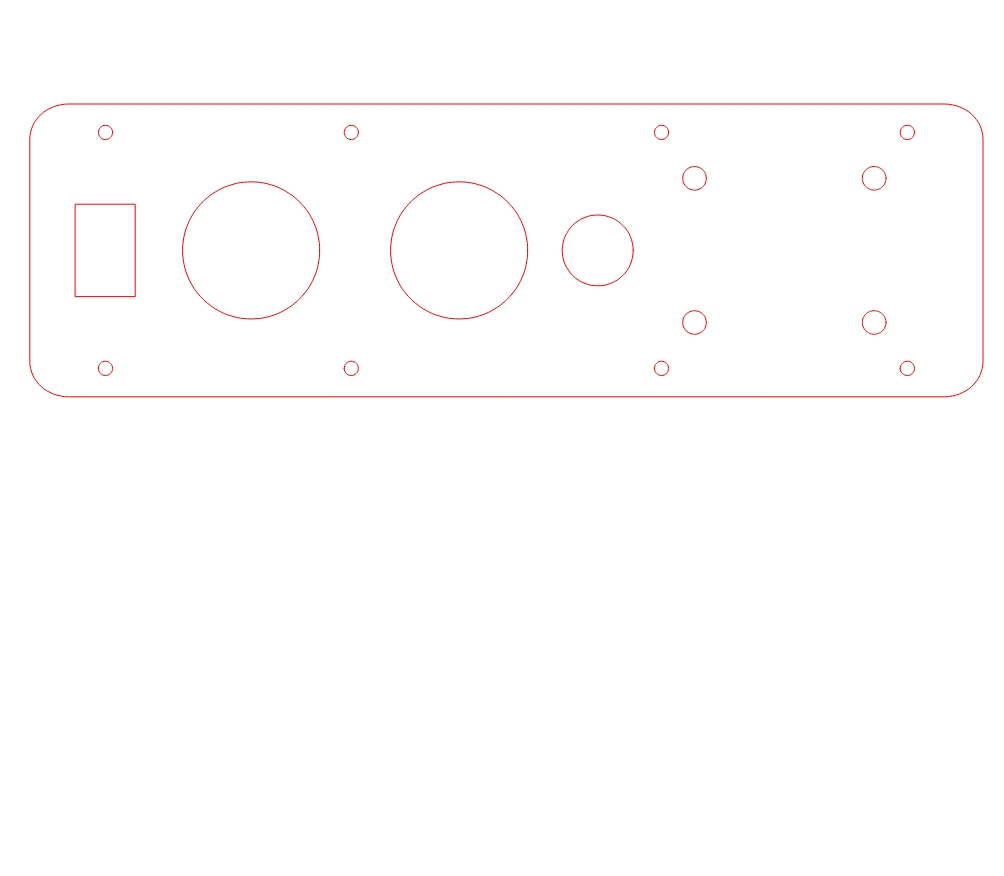 Here's a PDF file for the dash template. Make sure to print it at 100%, and it should be the exact size I used. Print it out, and verify it fits your dash opening perfectly, before cutting the acrylic panel. I laser cut my panel, but these can be cut with a jigsaw, and the holes cut with a Unibit. To see how I cut these type of panels with a laser cutter, you can visit my page on this topic: Laser Engraved Control Panels. |
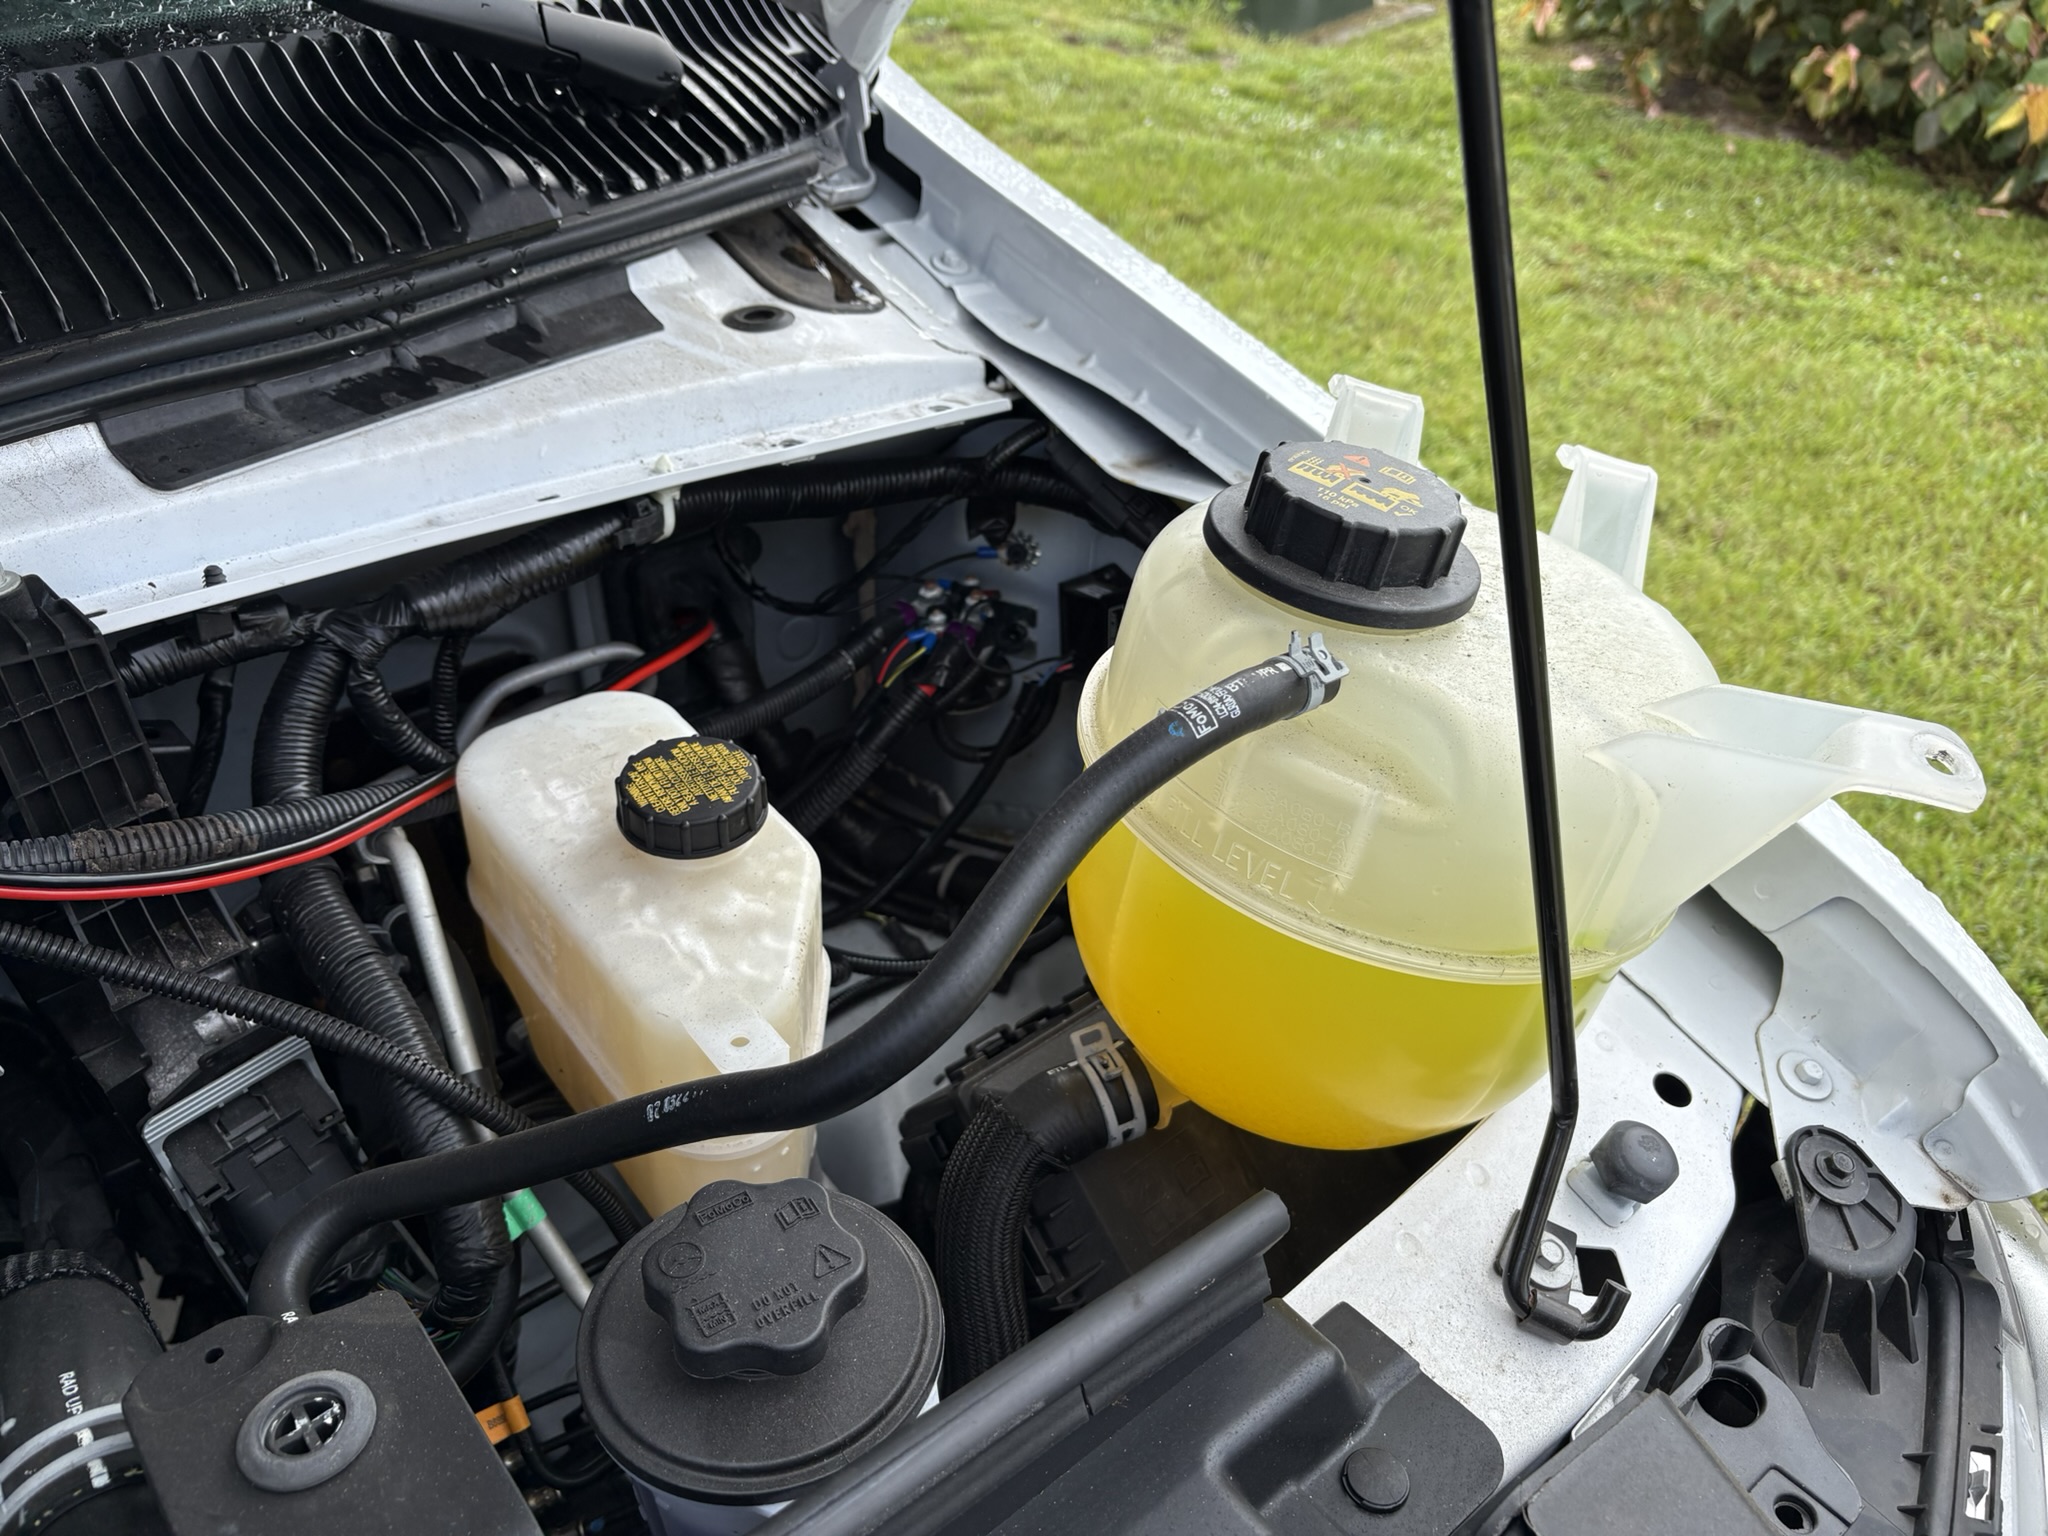 An easy source for 12V power is right behind the radiator overflow jug. Remove the 3 mounting screws, and lift it out of the way. No need to disconnect the hose. |
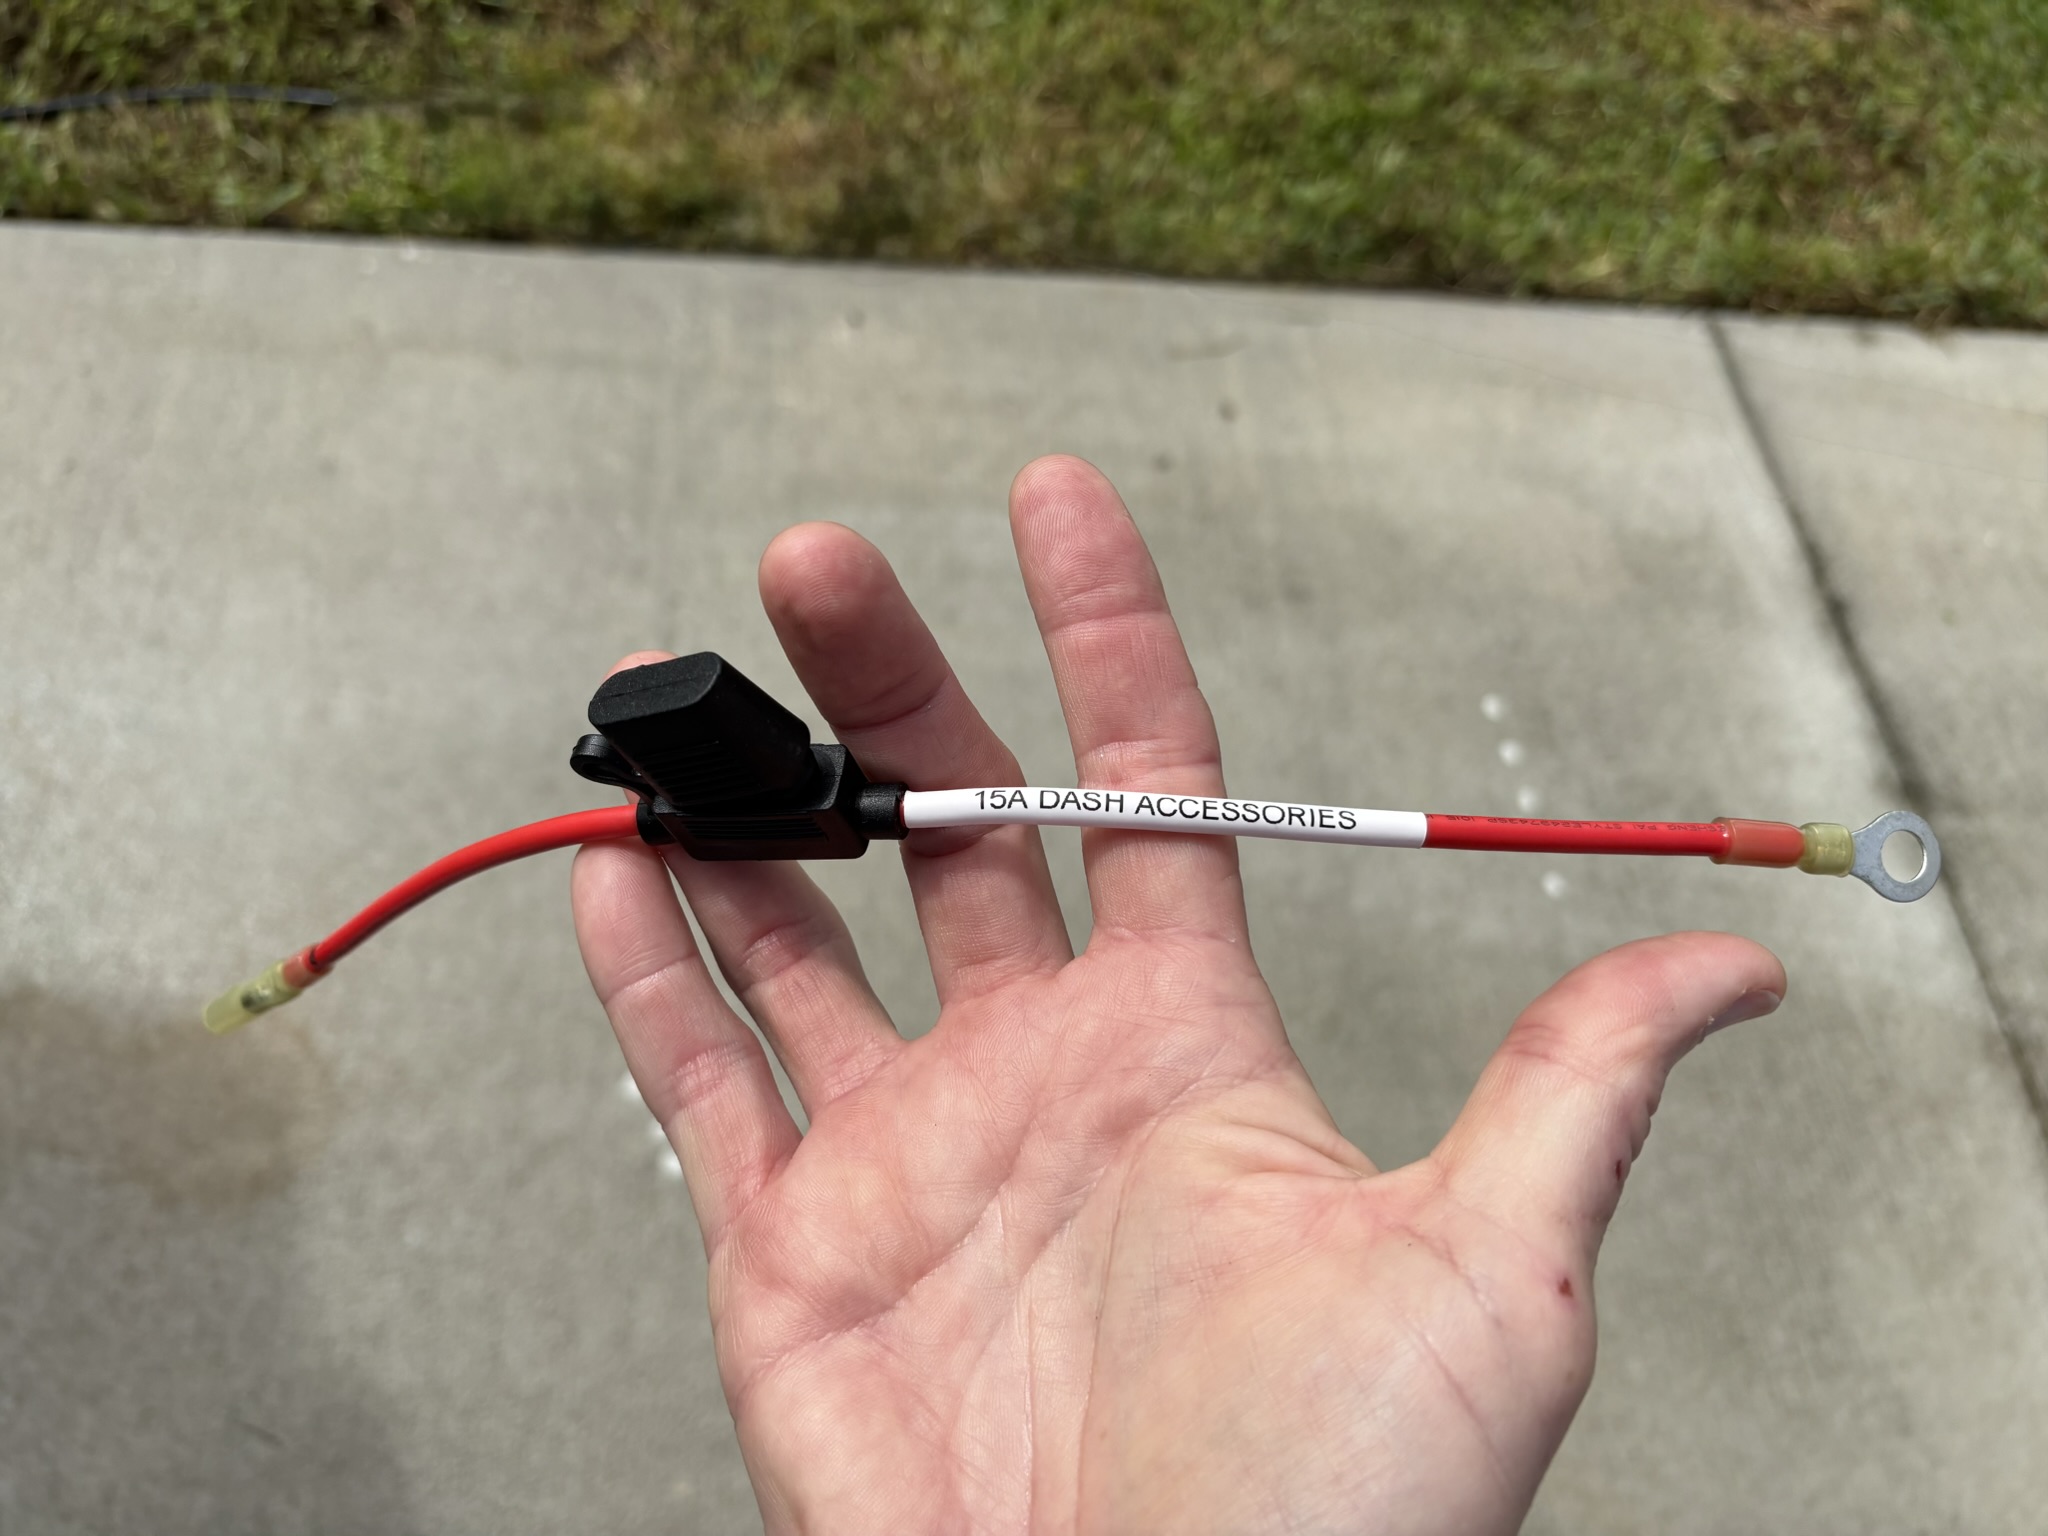 Always use a fuse when adding power wires. Keep the fuse as close to the power source as possible. This will protect all the wiring downstream of the fuse. I have a Dymo industrial label maker that also prints on heat shrink tubing. A great way to label the wiring. This is 10 gauge wire, and I'm using a 15A fuse. |
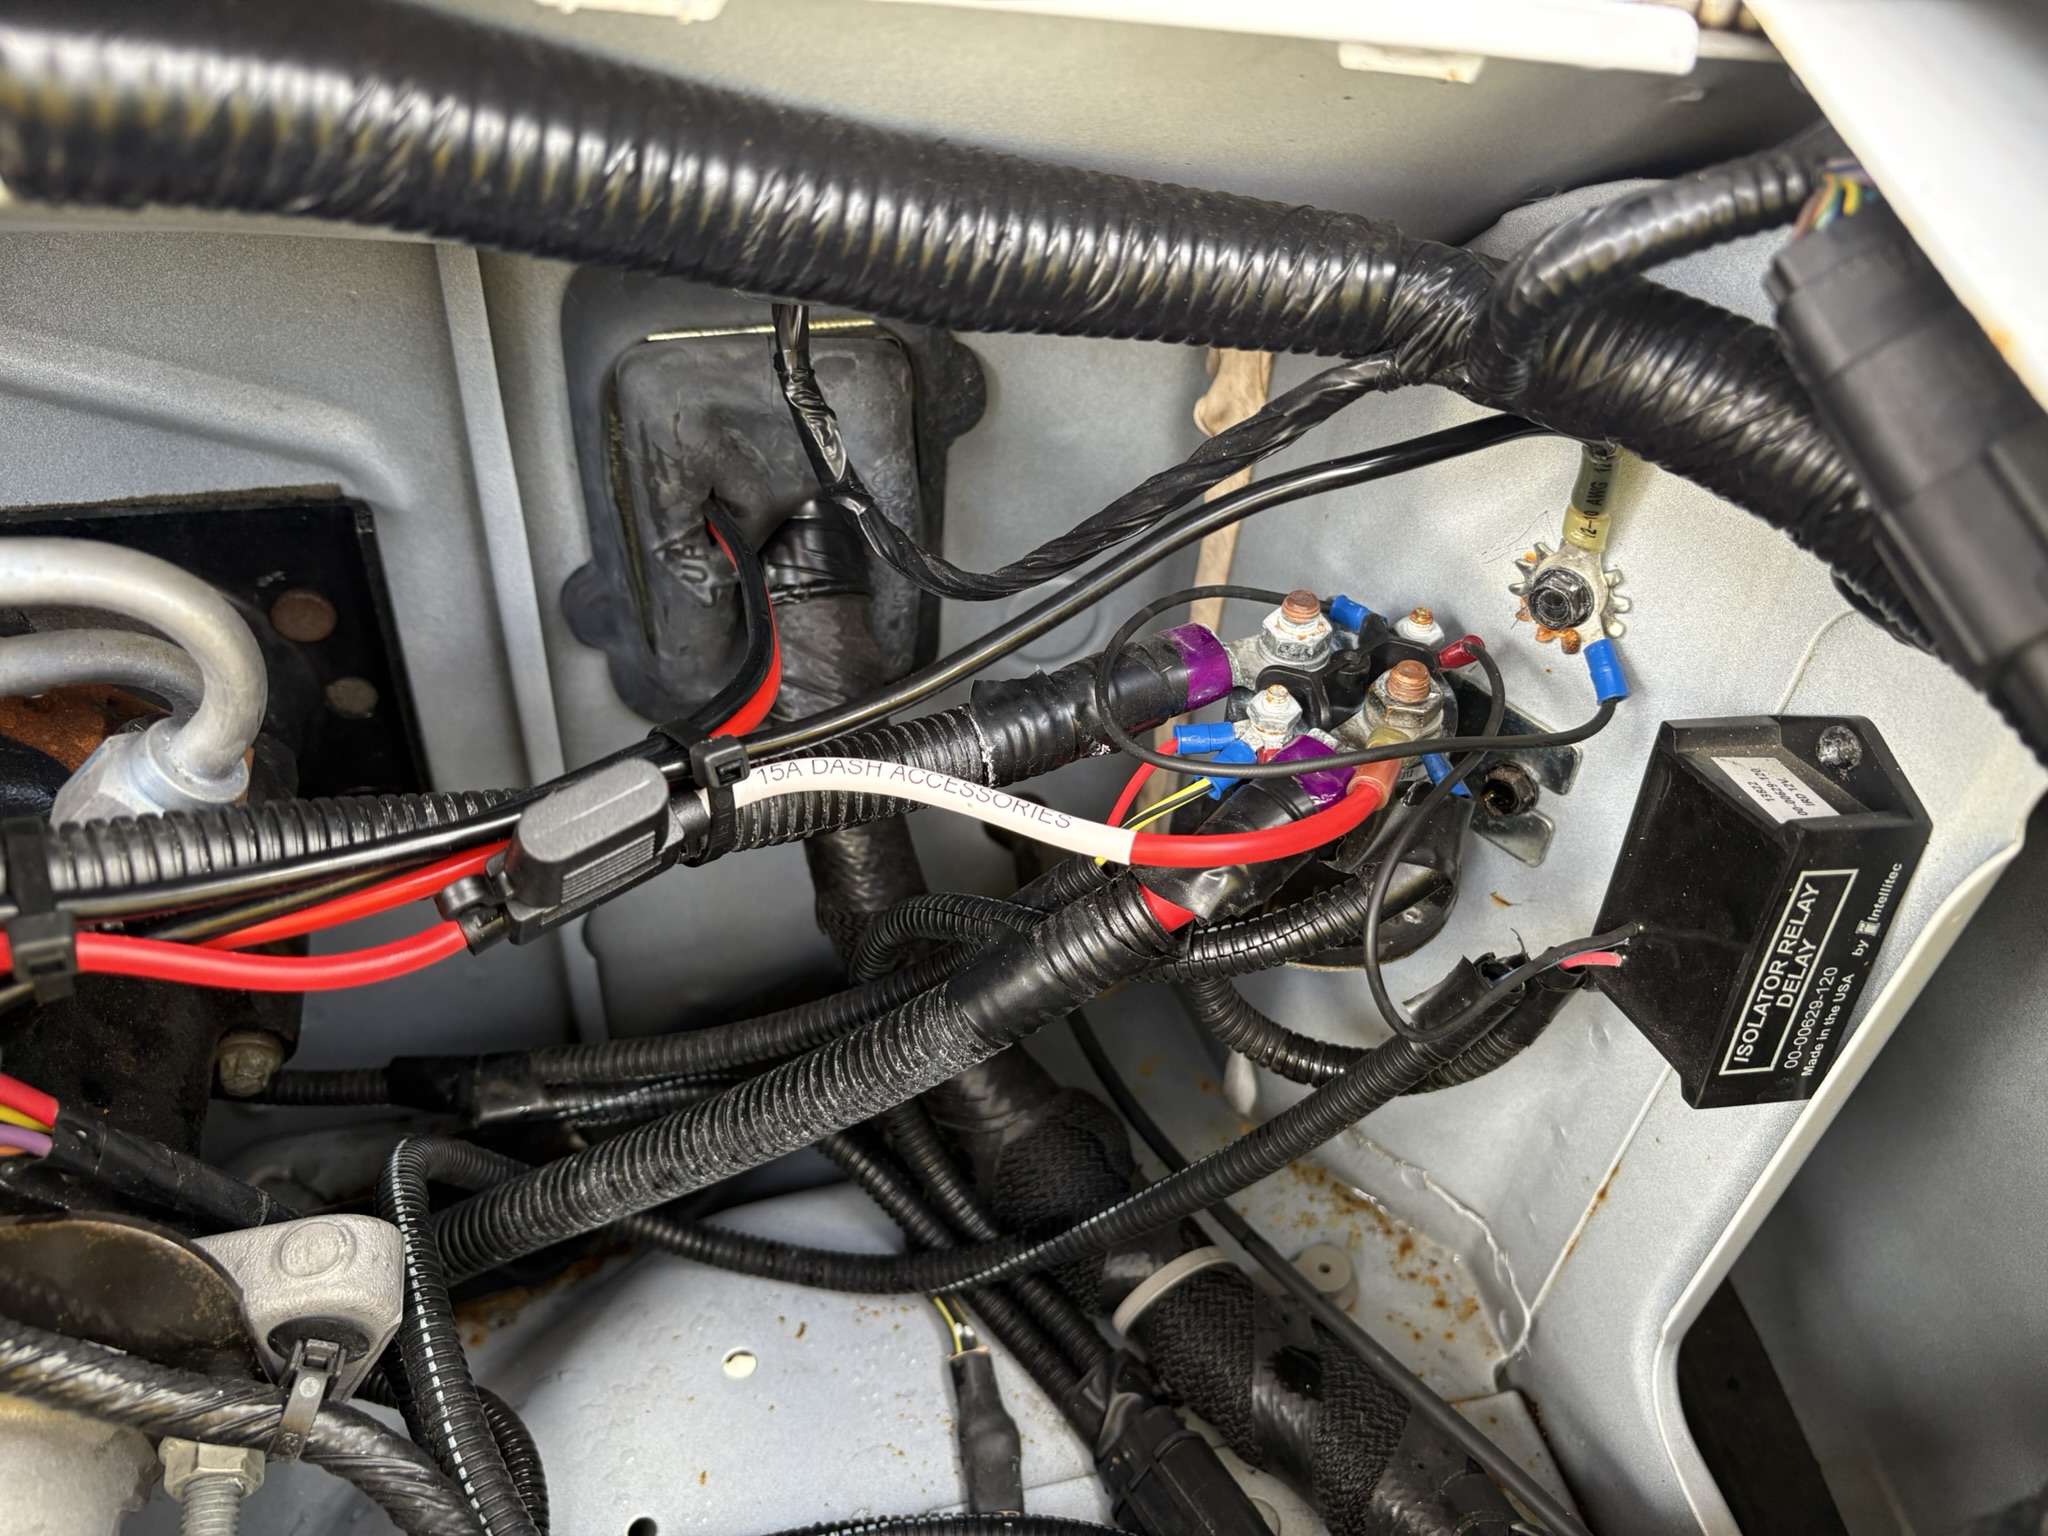 With the overflow jug out of the way, the battery solenoid can be seen. One of the fat cables is from the chassis battery, the other one from the house batteries. After the engine has been started, the relay control box engages the solenoid, allowing the alternator to charge all the batteries. With the key off, the solenoid disengages, isolating the battery systems to prevent accidental discharge of the chassis battery. I connected my fuse wire to the house battery connection. The wire was fed through the firewall where main wire harness enters. I'll be adding split loom to protect the wiring, and sealing the entry point with silicone. |
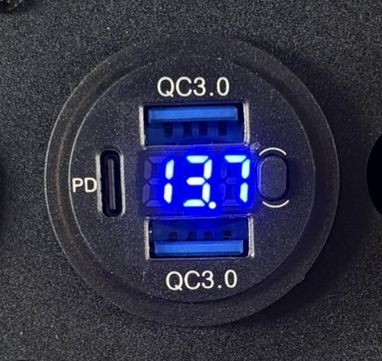 12 Volt USB Outlet Dual Quick Charge 3.0 Port and PD3.0 USB C Car Battery Chargers Socket. |
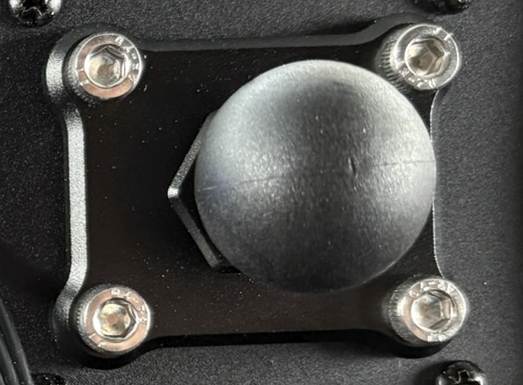 1'' Ball Mount Base with Aluminum Alloy 4-Hole AMPS Square Plate, Compatible with RAM Mounts. |
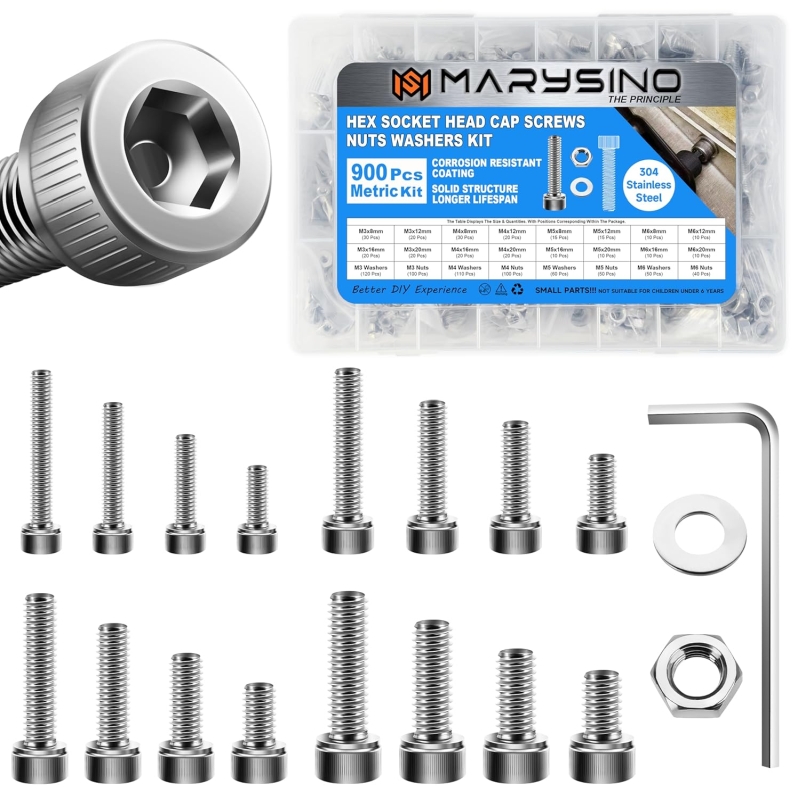 900Pcs M3 M4 M5 M6 Machine Screw Assortment Kit, 304 Stainless Steel |
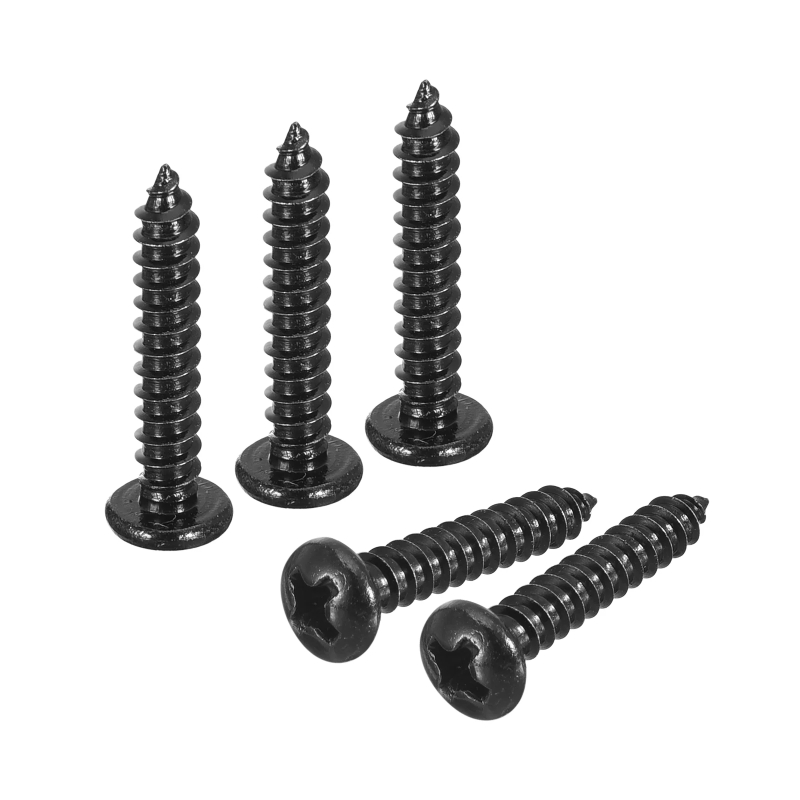 100 PCS #6 X 1 inch 18-8 (A2) Stainless Steel Pan Head Phillips Wood Screws, Black Coated |
 12V Cigarette Lighter Socket |
 Green Mouser switches Red Mouser switches These are the switches I used from Mouser. I used a resistor to limit the current to the built in LED. |
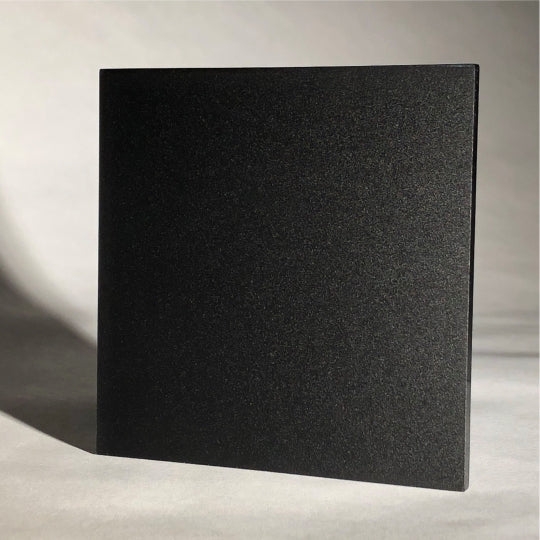 Frosted 2025 Black Opaque Acrylic Sheet – Delvie's Plastics This acrylic sheet is smooth on one side, textured on the other. The textured side is what I had facing out. Not only does it look nice, it hides finger prints. |
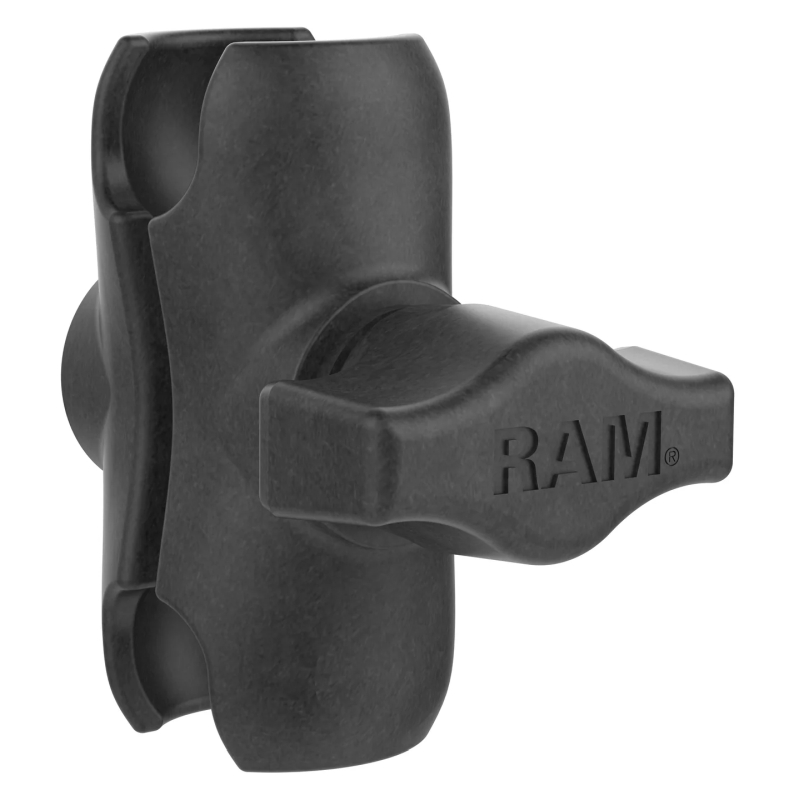 RAM Mounts RAP-B-201U-A Composite Double Socket Arm - Short Arm |
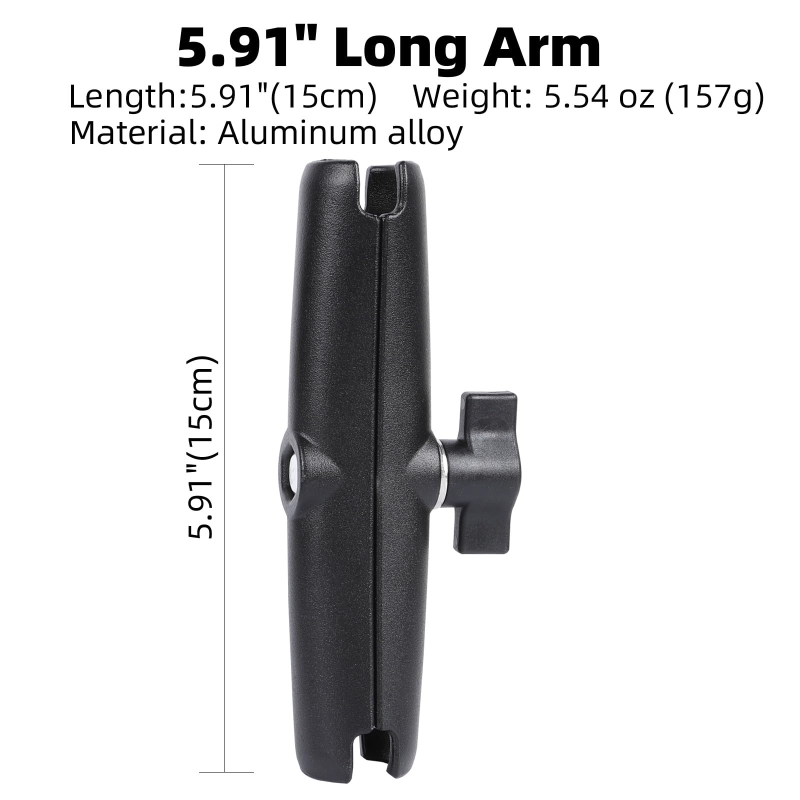 Aluminum Alloy Double Socket Arm Compatible with RAM Mounts B Size 1" Ball Components, Fits Industry All Standard 1" Ball Adapters (5.91" Long Arm) |
 7 inch Small HDMI VGA AV RCA Monitor 1080P Second Screen for PC/Security System/Game Console |
 Auto Trim Removal Tool Kit |
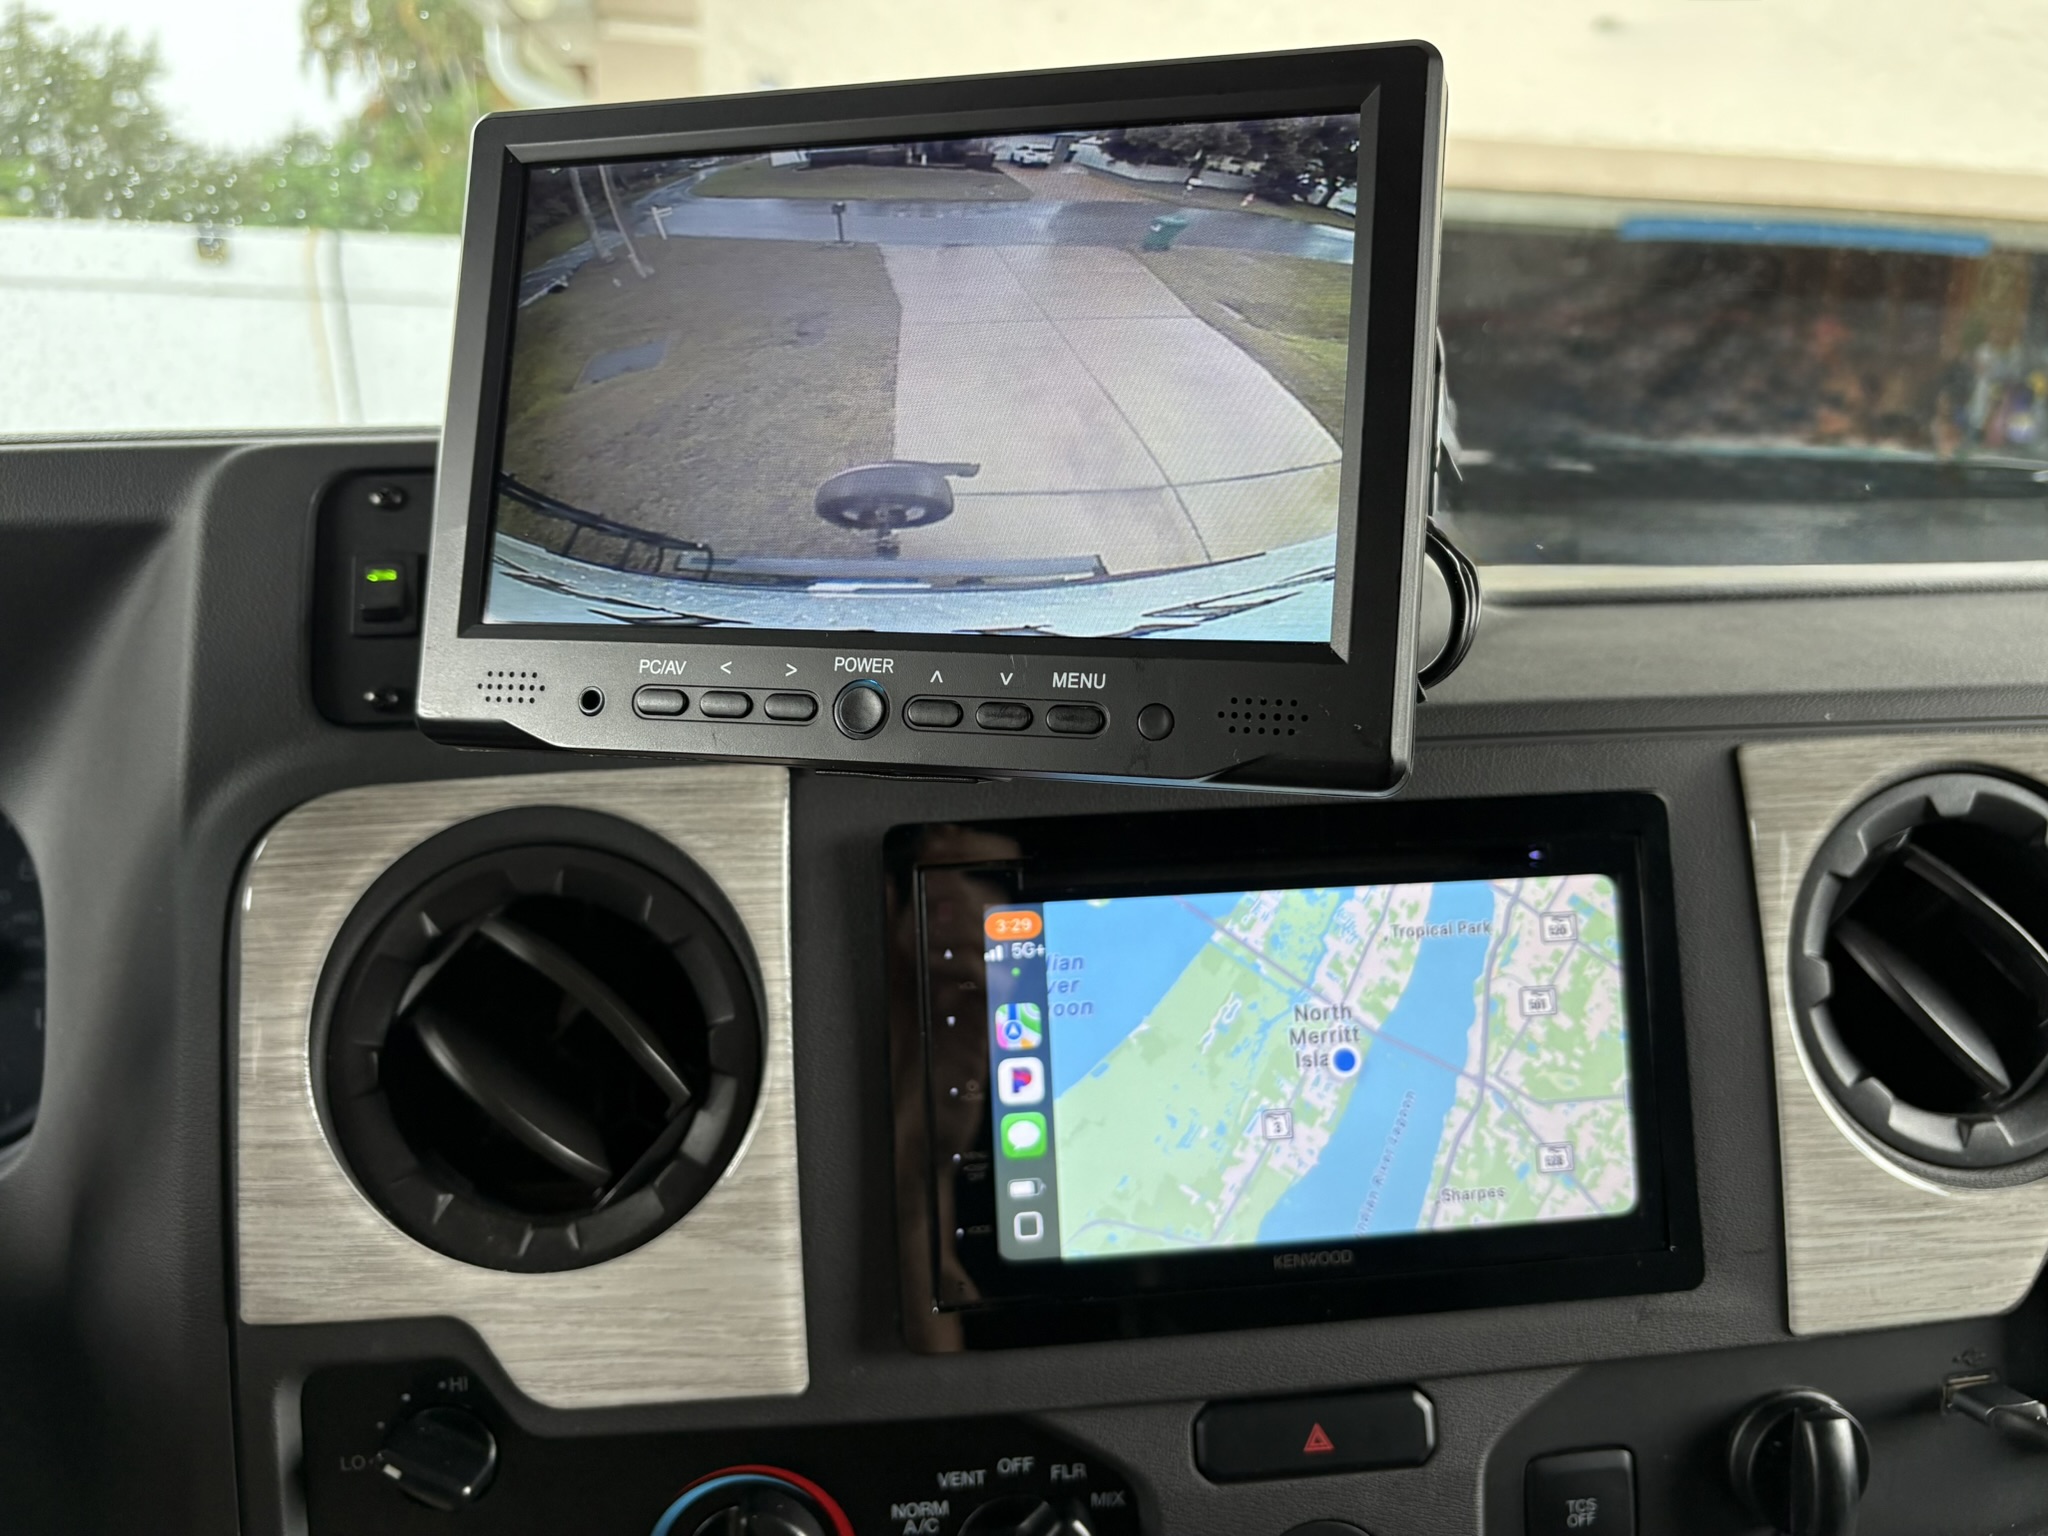 Now I can see the backup camera and turn signal cameras clearly, while still having the dash stereo navigating via Apple CarPlay. |
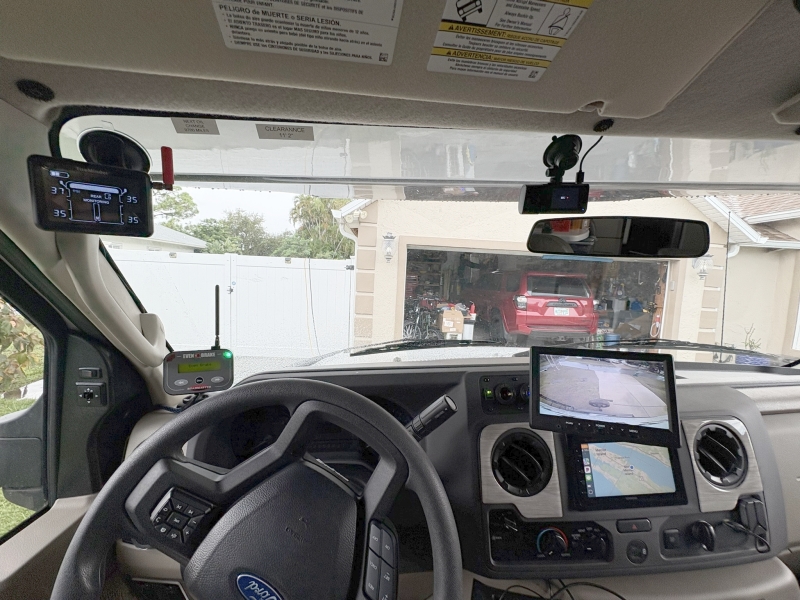 None of the monitors are obscuring my view of the road. Top left is a TireMinder TPMS system that monitors all 6 RV tires, and all 4 Jeep tires when we tow my Gladiator. Just below that is the RoadMaster Even Brake monitor. On the upper right, I have a dash camera to document not only bad drivers, but also have it recording 24/7 in case there's any issue at the campsite. |
As an Amazon Associate I earn from qualifying purchases. Clicking the
links cost you nothing extra, but does help support my website, thank you!
|
|
Last updated 09/10/25 All rights reserved. |
