 |
 |
Adding LED Lighting To Generator Shed
|
We live in hurricane prone central Florida.
Power outages are common. Sometimes due to a major storm,
sometimes due to a lightning strike. All part of the price of
living in paradise. |
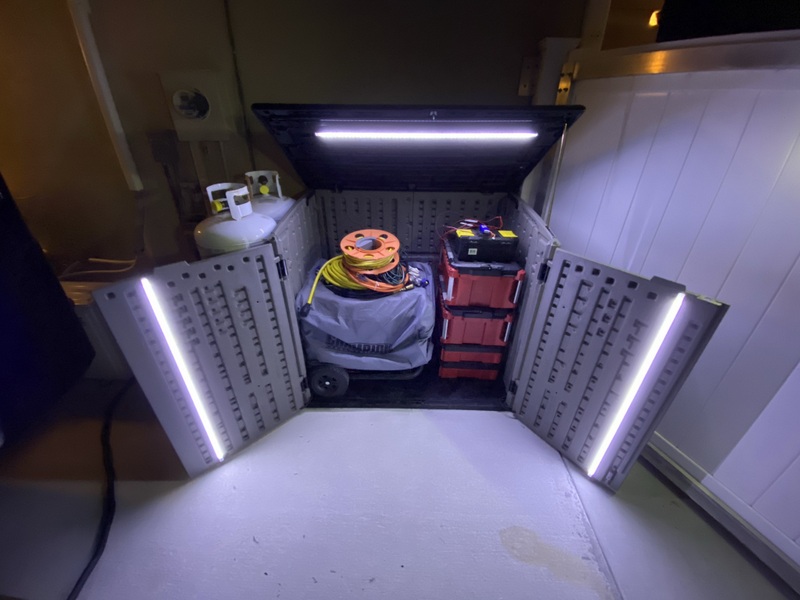
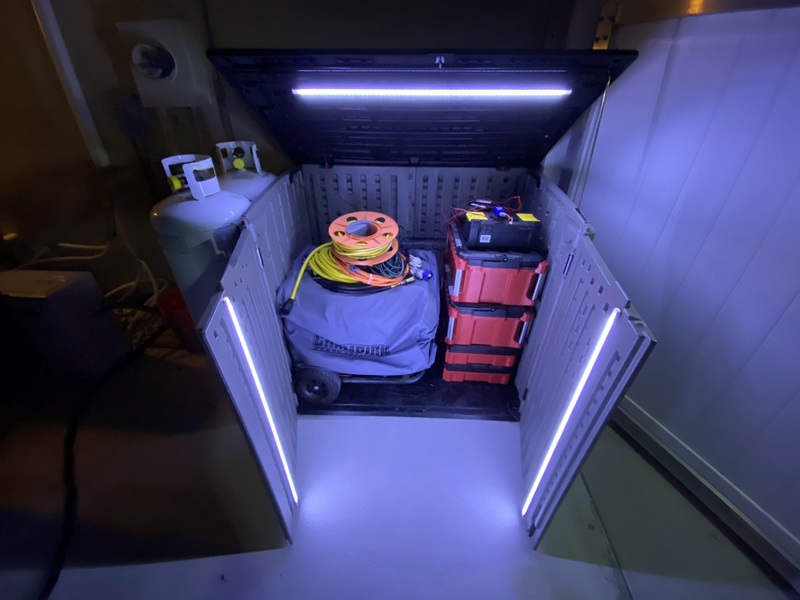
 The generator shed lives next to the house, but behind a privacy fence. |
 It's a tight squeeze, but the generator just fits the shallow depth of the box. |
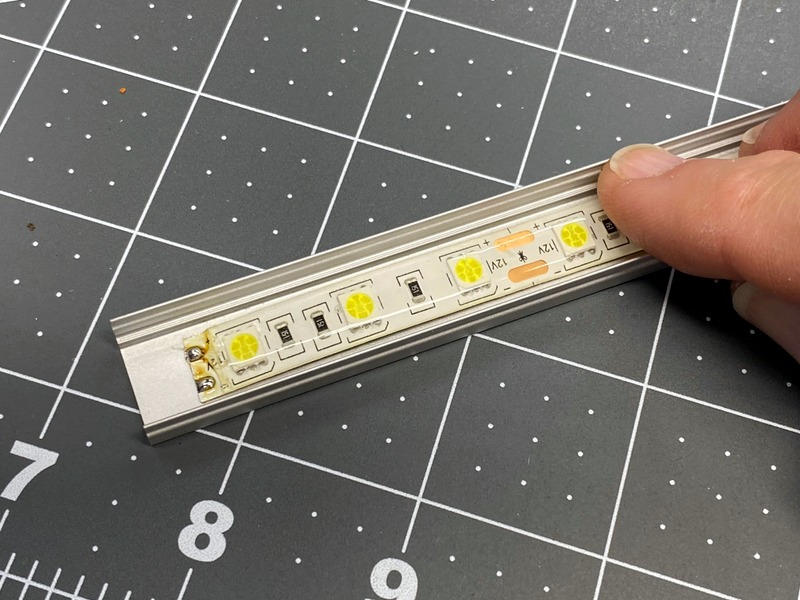
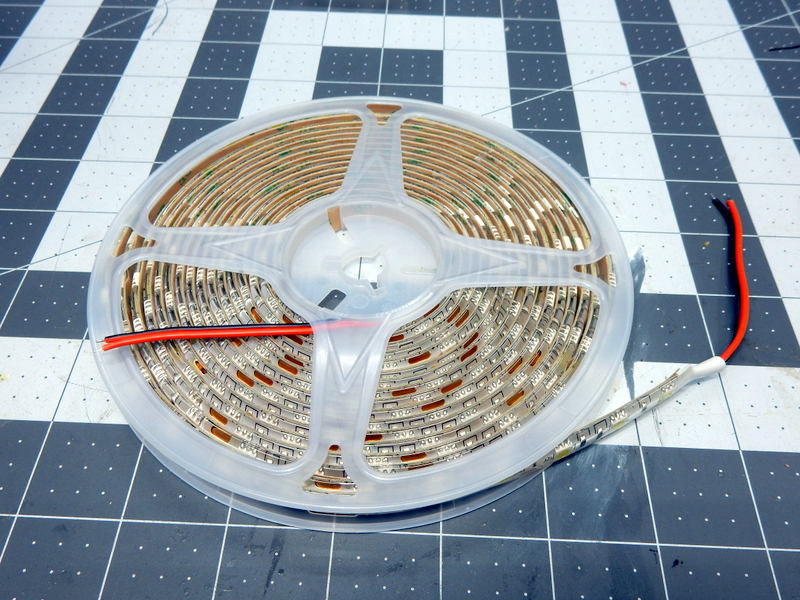 I bought a roll of 5050 LEDs. There are 300 LEDs on this roll. The roll can be cut to the desired length, in 3 LED increments. There's a total of 5 meters of LEDs per roll. |
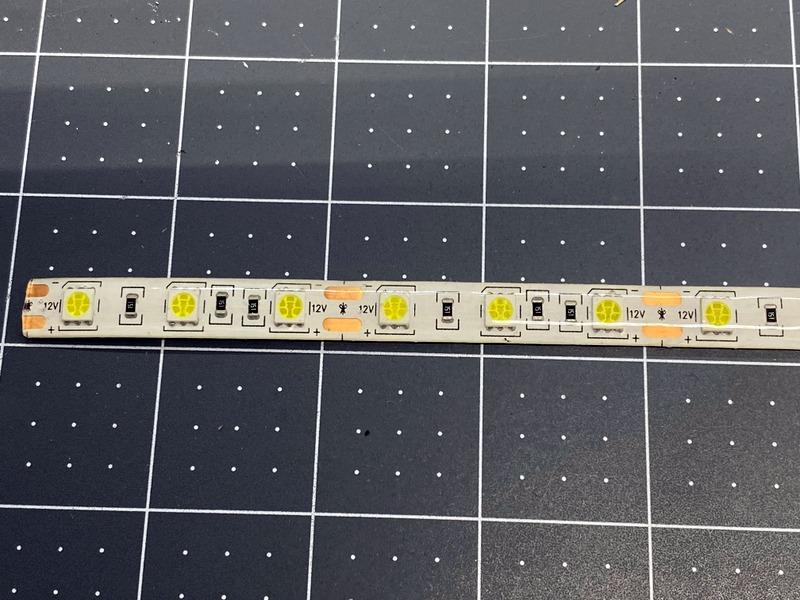 The yellow components are the LEDs, the black ones are load resistors, and the copper ones are where the strips can be cut, and wires soldered to these pads. |
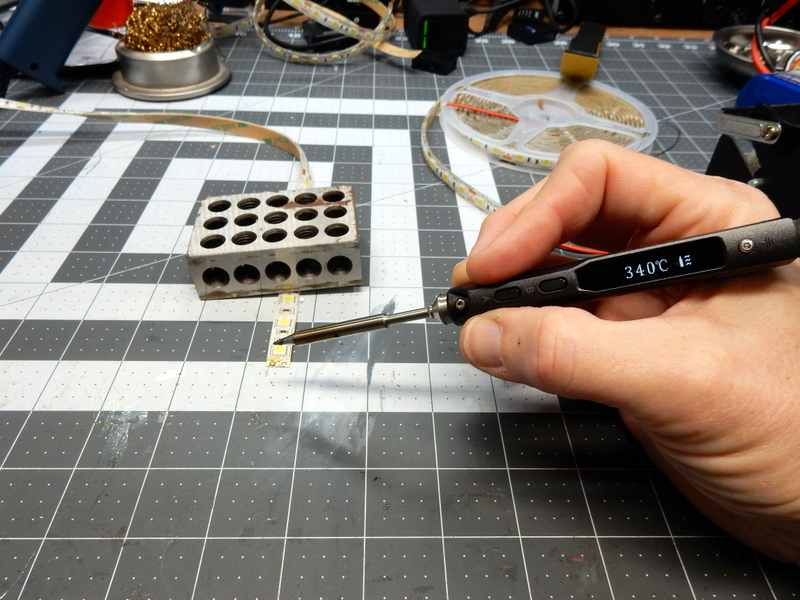 Once the LED strip is cut to length, the clear silicone is removed from the flexible strip, exposing the electrical terminals. This is where the 12VDC power cables are soldered into place, being careful to observe the polarity. |
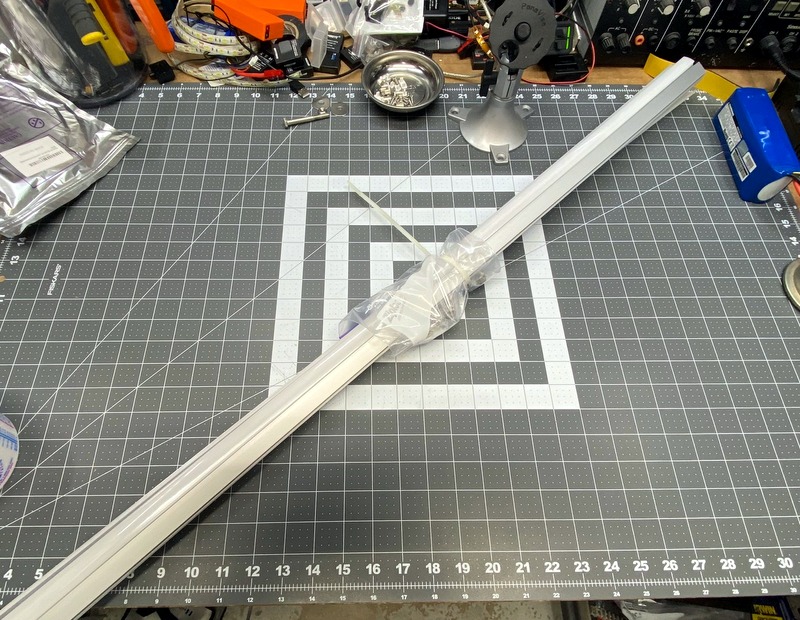 The aluminum channels, and frosted covers, come 6 to a pack. They are each 1 meter long, and can be cut to the desired length. |
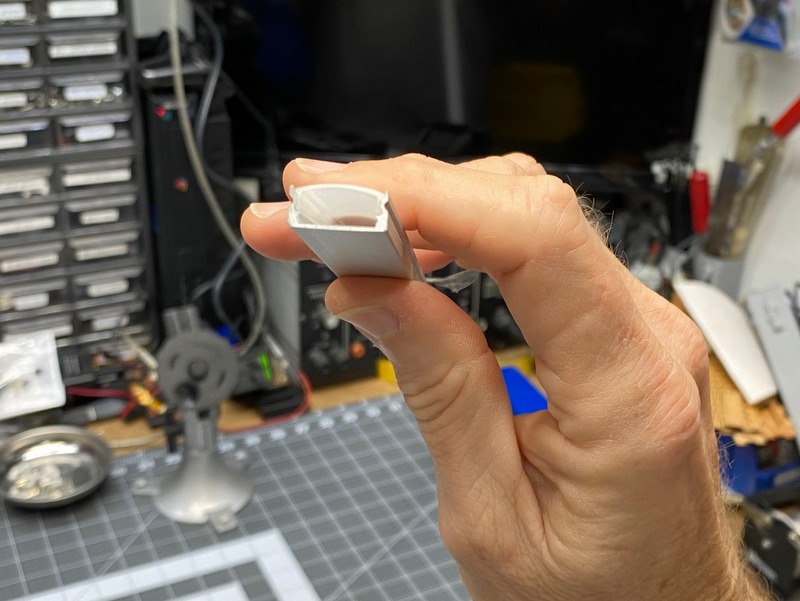 Here's a view of the end, with the cover in place. There are included end caps as well. |
 With the cover removed from the adhesive strip on the back of the LED roll, it can be adhered inside the aluminum channel. |
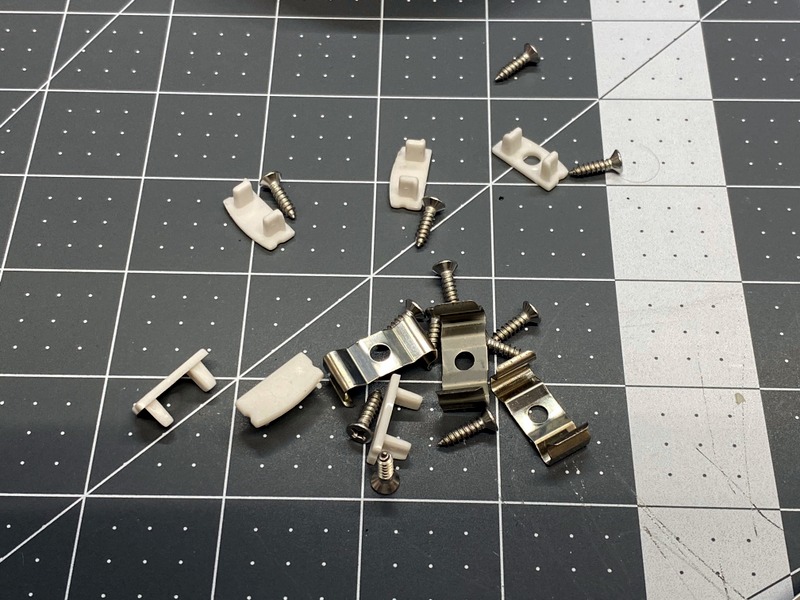 This is the hardware remaining after I installed 3 of the 1-meter strips. |
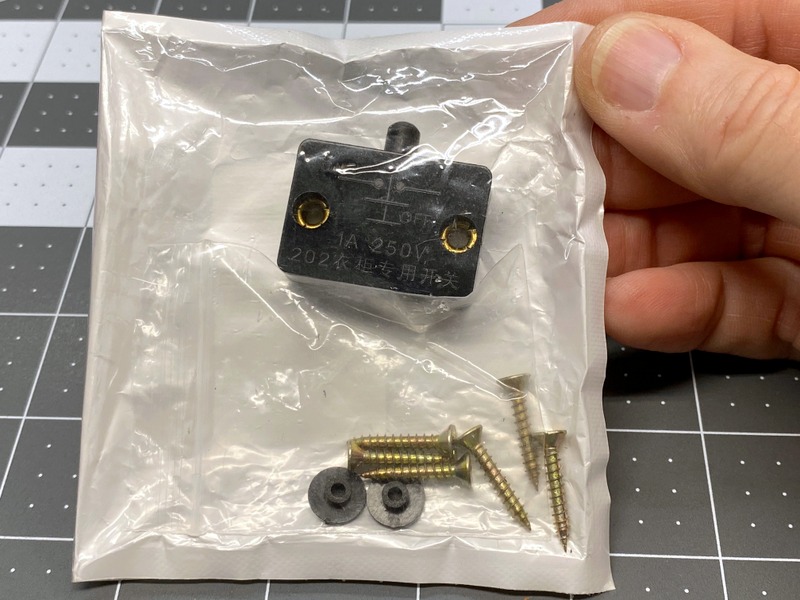 The door switch controls the LEDs. When the lid is closed, the LEDs automatically go off. |
 A test of the LED lighting. It's MUCH brighter in person. The camera was being overloaded with light! |
 Now to add a permanent battery and add the wiring. |
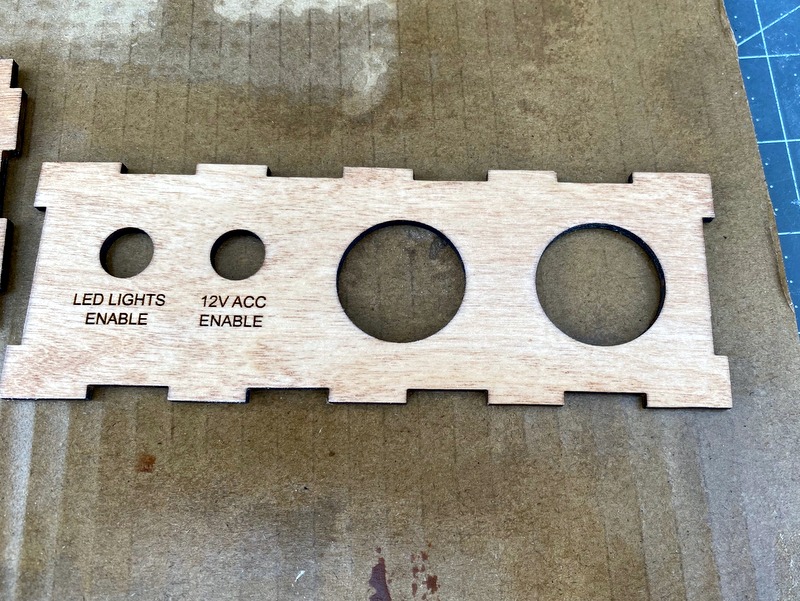
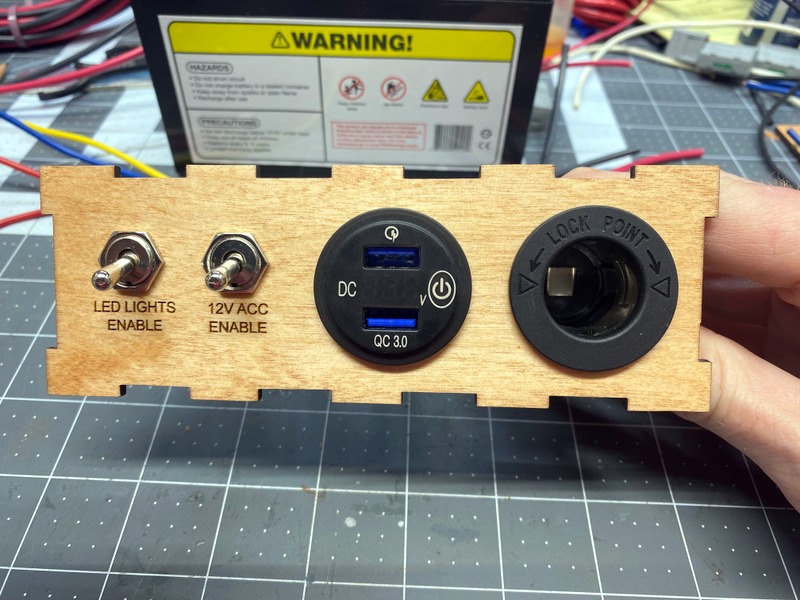
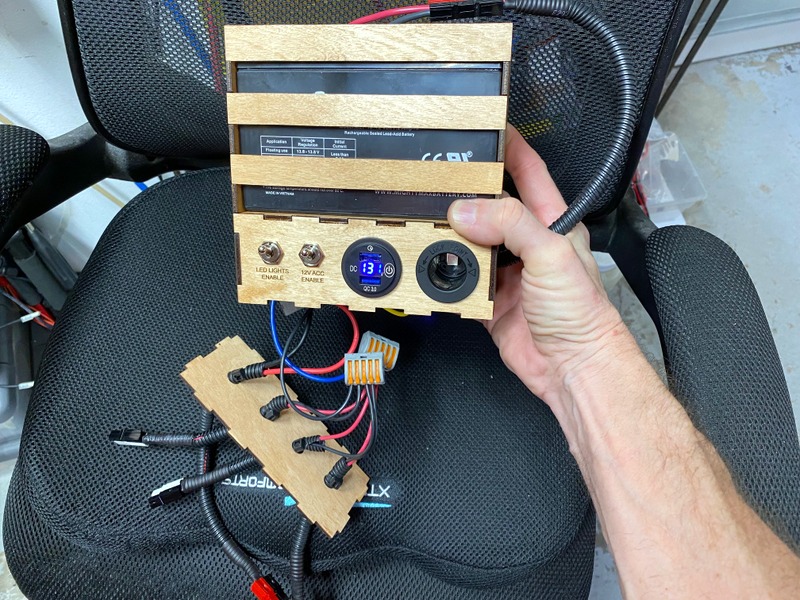
| I could have simply wired the battery to the LEDs and the switch, but I have a bunch of spare components from other projects laying around. I wanted the ability to turn off the lights during the day, or during extended outages. I also wanted the ability to recharge cell phones, or run other 12V appliances. I added a second switch to turn those off when not needed to avoid any parasitic loads. The SVG files are located at the bottom of this page if you have access to a laser cutter, or 3D printer. I made these from 3mm thick Baltic Birch plywood. The wood was stained, clear coated, and assembled with epoxy. The bottom plate is screwed in place in case I need access in the future. The text under the switches is laser engraved. Details on the storage box are here. |
The Battery Box And Control Center
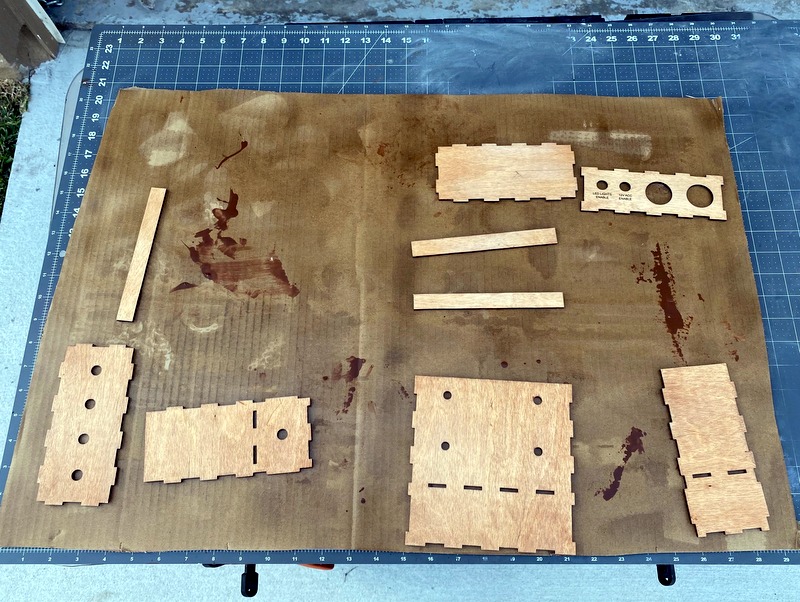 After a few mods to prototypes, I was finally satisfied with the design. The parts don't take long to cut out with a K40 laser. I used a gel stain to prevent uneven color. |
 The laser engraved text is already dark, and didn't require any further attention. |
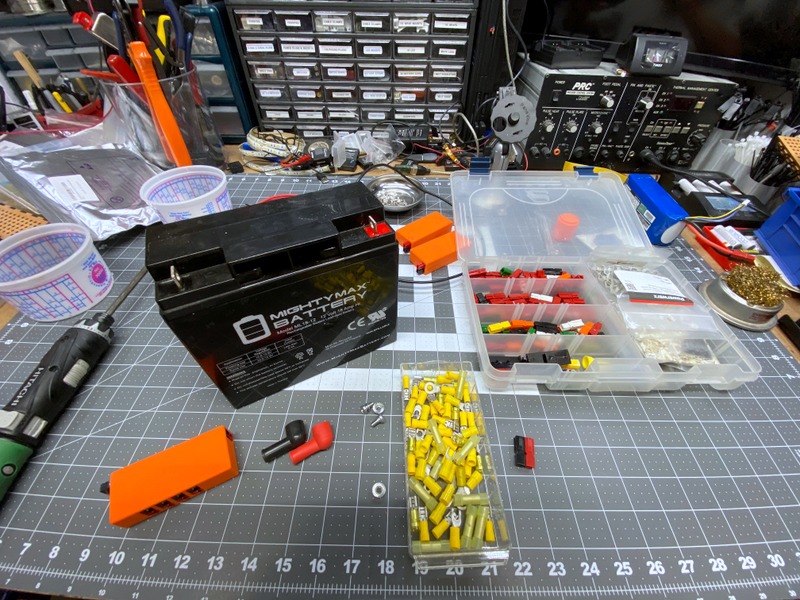
 I wanted to box to be as small as possible, so the 12V 7AH battery determined the width. I dug through my parts bins, and found useful components to utilize the available space. |
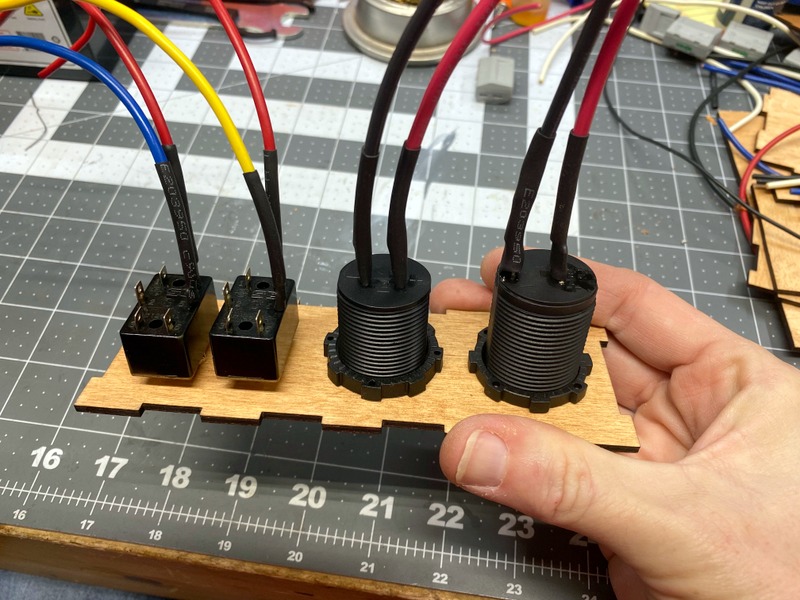 Man, using CAD software to layout the holes, and a laser to cut them, is FAR easier than the old methods I used in the past! I soldered wires to the terminals, but Fast On connectors would have worked as well. |
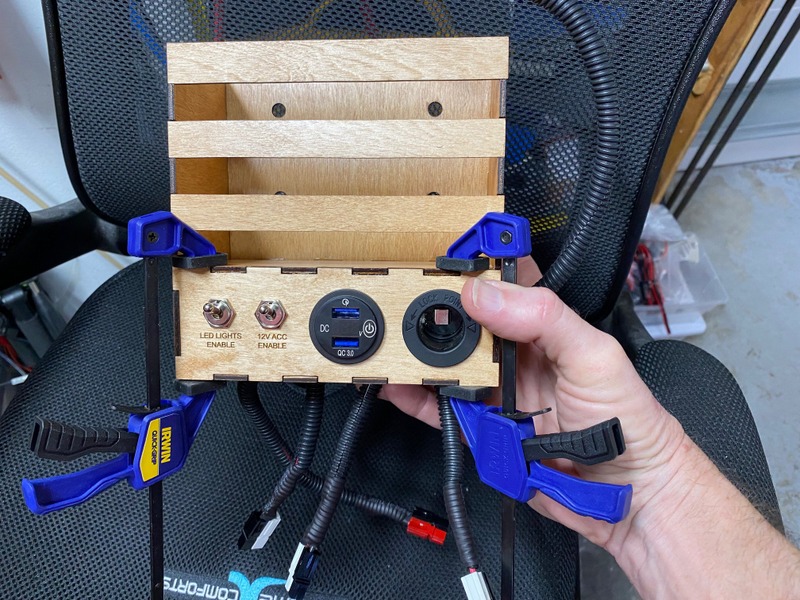
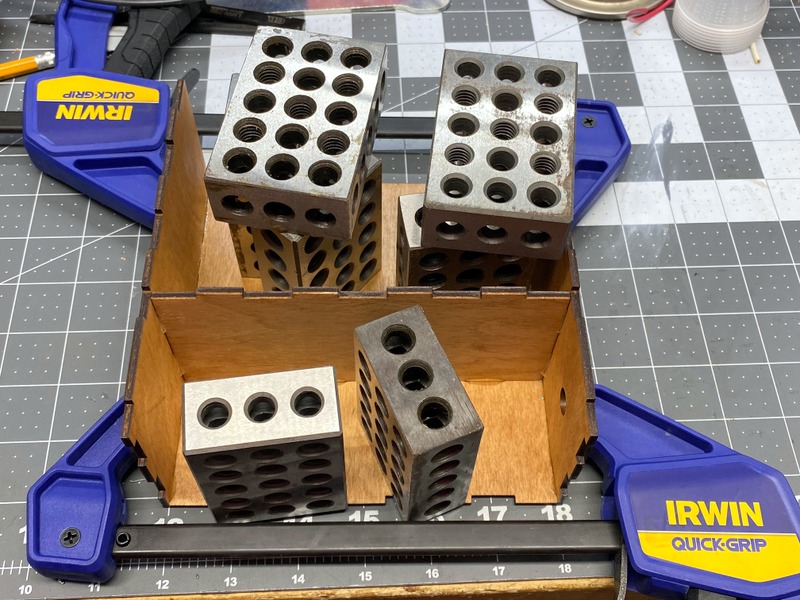 I typically use a cyanoacrylic adhesive to assemble laser cut boxes, but I used epoxy due to the weight of the battery. |
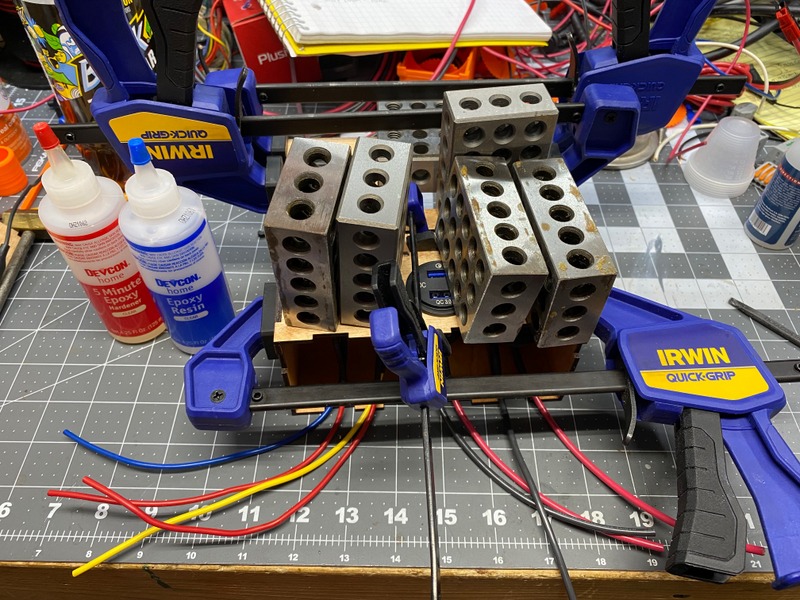 I used a number of 1-2-3 machinist's blocks to hold the control panel in place while the adhesive set. |
 In the past, I would have either soldered all the connections, or used a barrier strip. Now I tend to use Wago lever nuts. These work great for connecting different sized wire conductors, either stranded, wire or solid. |
 This is just before the bottom plate was screwed into place. Since it's not glued into place, I can easily access the inside if ever needed. I also put connectors on all connections, making removal or changes, very quick and easy. |
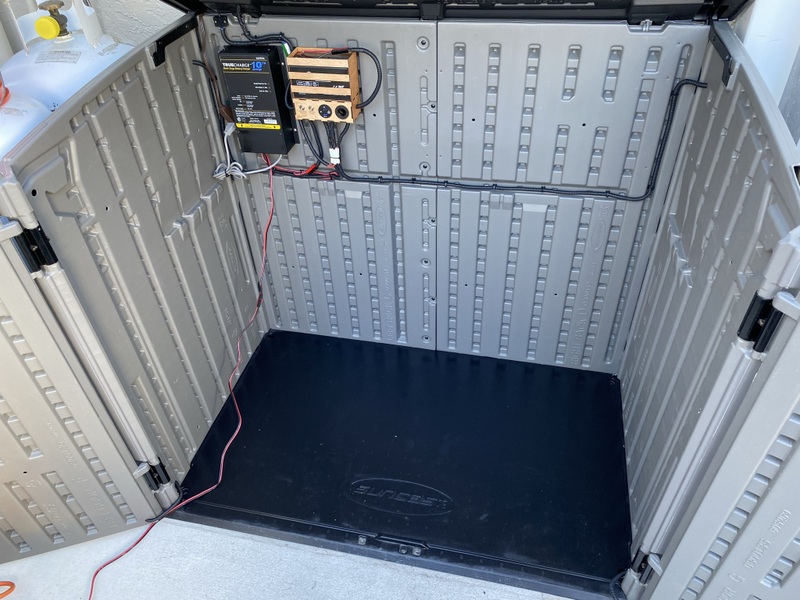 All wired up, and ready for use. The long cable on the left side connects to the generator battery to keep it charged. |
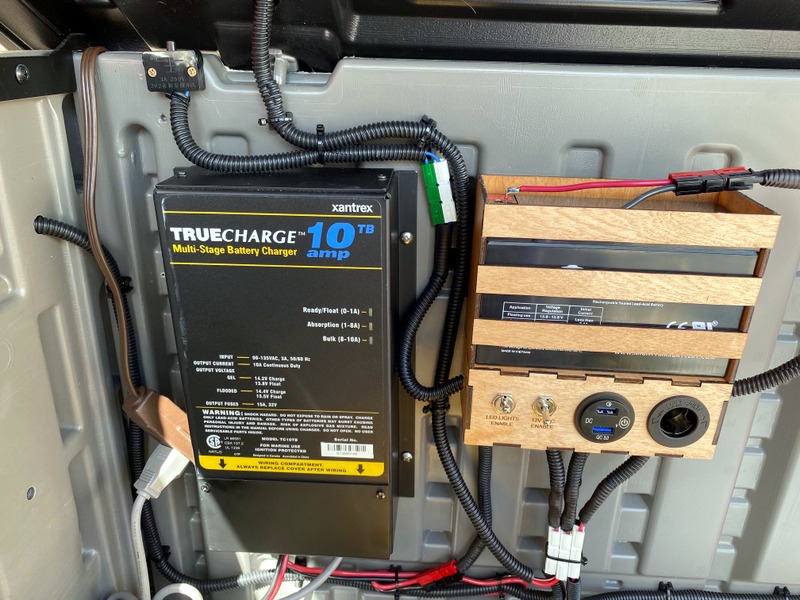 A close-up of the door switch, battery charger, and control box. |
 I removed the generator battery to modify it. |
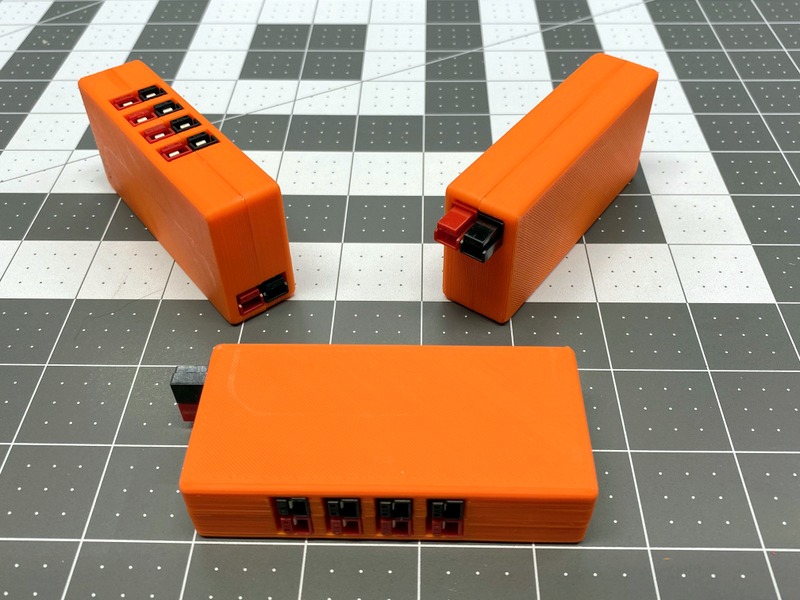 I 3D printed Anderson PowerPole power distribution boxes. The connectors are put inside, and the pins soldered together. The 3D files are located here - LINK. |
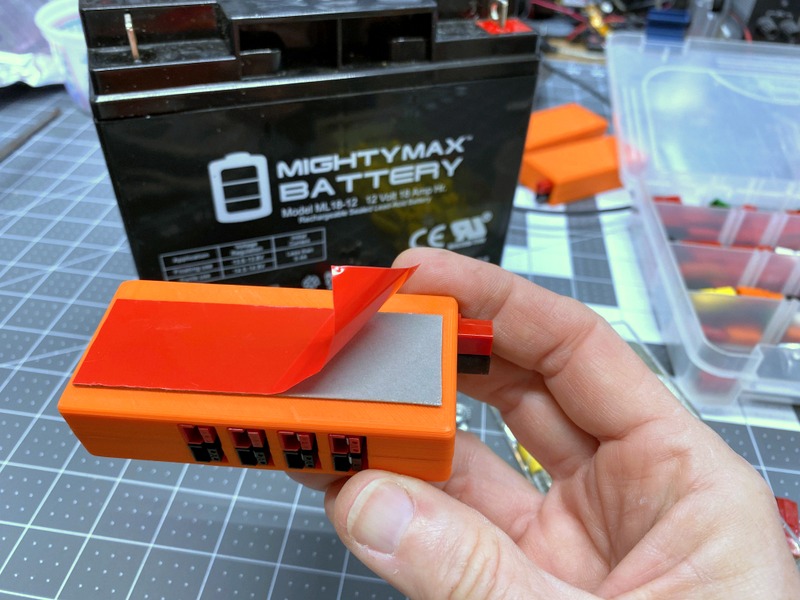 The distribution box was attached to the battery with a piece of 3M VHB tape. |
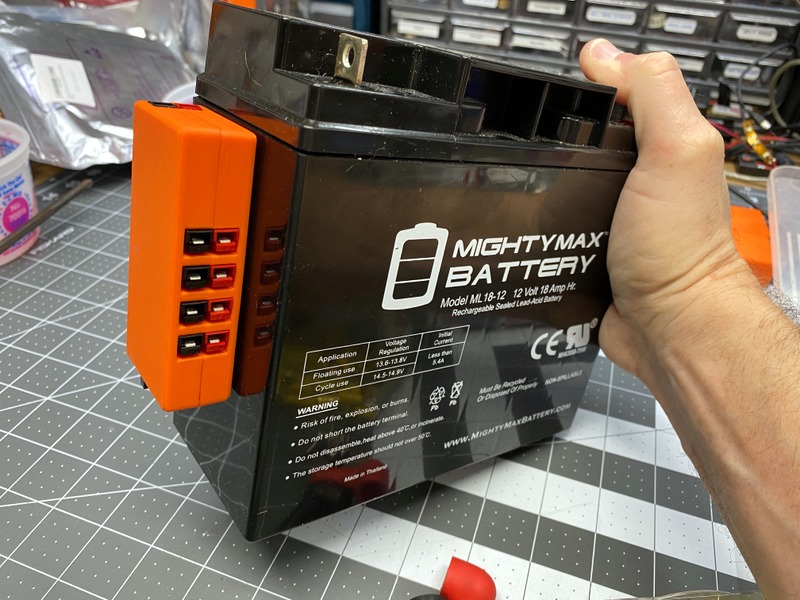 The battery can be removed from the generator, and used as a stand-alone power source for 12V lighting, HAM radio gear, etc. |
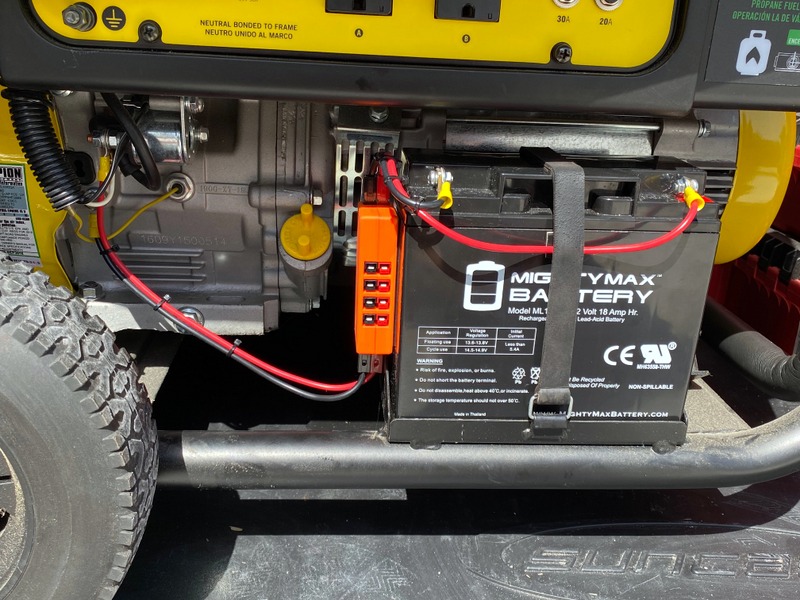 The battery plugs into the top connector, the generator connects to the bottom. |
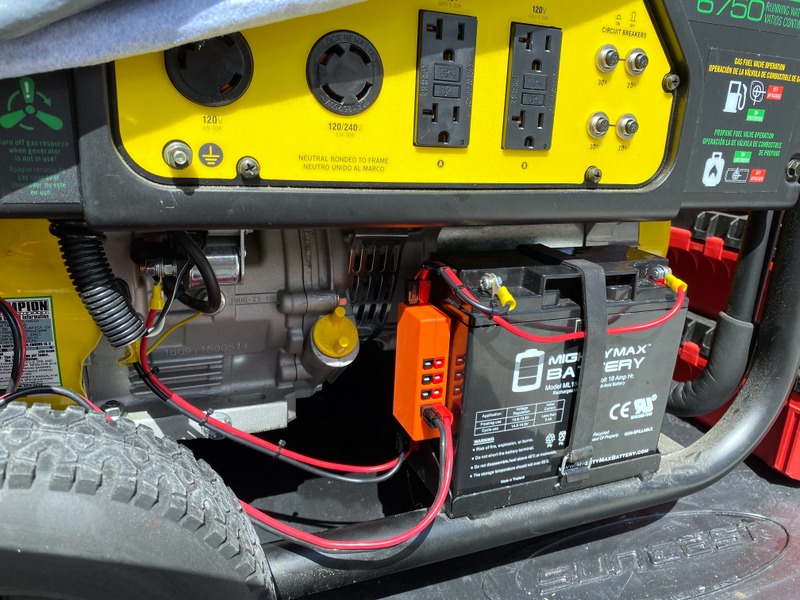 The charging cord was plugged into one of the front connectors, and is unplugged when the generator is deployed. |
| Here are the SVG files if you decide you'd like
to make your own battery tray and control center: Top & Bottom Front Back Side No Hole Side With Hole Cross Braces |
These are the products I used for this project, or are recommended:
As an Amazon Associate I earn from qualifying purchases.
|
|
Last updated 02/22/22 All rights reserved. |
