

|
|
|
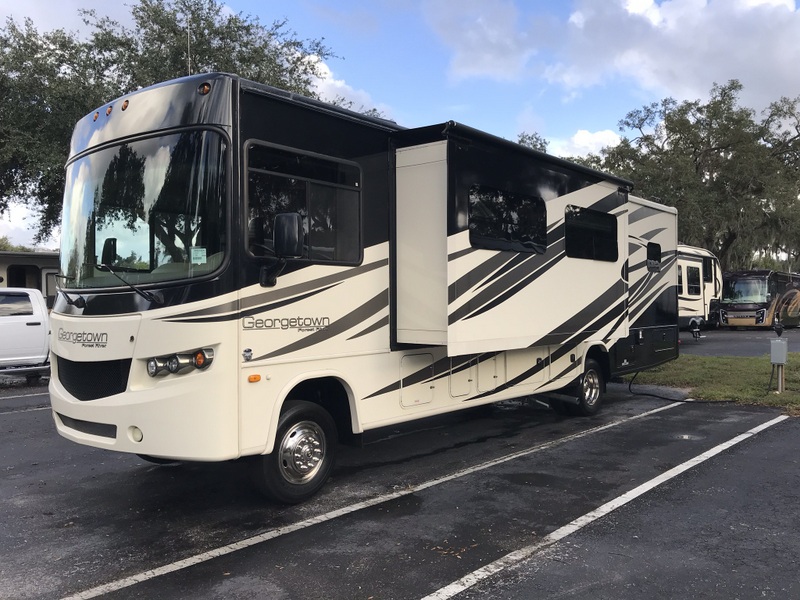
| Our 2015 Forest River Georgetown has two 13,500 BTU Dometic
roof top A/C units. We bought this RV used in 2018, it only had 10K
on the odometer. As with my previous RVs, we keep it plugged in, with
the A/C running all year. Very hot and humid in Florida. This
environment will destroy the interior of RVs that are just parked with no climate control.
Our last RV was a 2007 Rockwood travel trailer. Actually got it late
2006. Kept it plugged in for 13 years, and the interior has held up
well. Sold it to our niece. So it was unusual that our
RV A/C died after 5 years. It symptoms were an increased buzzing noise, and overall lack of cooling. Over the course of the year, it started short cycling. Would cool for a few minutes, then the compressor would disengage for a few minutes, then repeat. I had pulled the cover, checked the run capacitor (actually measured it using the meter linked below), verified no leaks, and even replaced the thermal switch. But none had an effect. It finally got to the point the compressor was too hot to touch after just a few minutes of running. It burned the wires off the top of the compressor! I've read a number of posts on various forums about people having issues with Dometic A/C units. Our travel trailer has a Dometic too, so maybe there was a certain year of duds, don't know. Either way, I bought the exact same unit. |
 Removing the old unit was fairly straightforward. Disconnect power, remove the cover from the ceiling inside the RV, and remove the 4 long mounting screws. There are one or two Molex type connectors that need to be unplugged from the control box - seen in the next picture. To remove the unit from the roof, I went up top, and lifted one corner slowly until the seal released from the roof. The roof was scrubbed with Simple Green to make a clean surface for the new gasket to seal against. |
 This is the control box that stays in place. This makes replacement MUCH easier! If you look close, you can see the two connectors on the back of the box, where the top of the A/C unit plugs into. One of the connectors goes to the optional heatstrip, which mine has. |
 With the box, the A/C unit weighs 75 lbs or so. The top of my RV is 12'. I'm years past the era of putting it on my back, and dragging up the vertical ladder on the back of the RV! Instead, I have a commercial grade extension ladder (350# rating). I put the base of the ladder in the bed of the truck, and the top on the RV. The base couldn't move as it was against the back of the bed, and the top was tied to the rear A/C unit, in case it tried to slide left/right. |
 Overview of the operation. This actually went well. I pushed the unit up the incline, and carefully transitioned it to the roof. I left it in the cardboard box, and slid it across the fiberglass roof until it was close to where it needed to be. |
 The new unit was set in place. No sealant is put on the roof or the gasket. The closed cell foam doesn't need it, and will greatly increase your frustration if the work every has to be repeated. |
 From inside the RV, final alignment of the unit can be done. Those 4 long bolts need to align with the 14" square hole. By reaching up through the hole, the unit can be nudged an inch or two in any direction. When you can clearly see all the holes, you're there. Put the metal mounting place against the ceiling, and gently run all 4 bolts in place. I slowly tightened each corner until I felt about a 1/4" of compression of the foam seal. Pay attention to where foil duct tape had been applied previously to seal up unwanted air paths. I duplicated what had been done, put all the parts back like before, plugged it in, gave it a test. |
|
Wow, what a difference! It started cooling immediately, and was COLD, not just cool. I didn't need to put my hand near the vent to determine if it was cooling. The old unit never cooled this well in the year we've owned the RV. Might have been a dud from the factory. |
As an Amazon Associate I earn from qualifying purchases.
|
|
Last updated 01/21/22 All rights reserved. |
